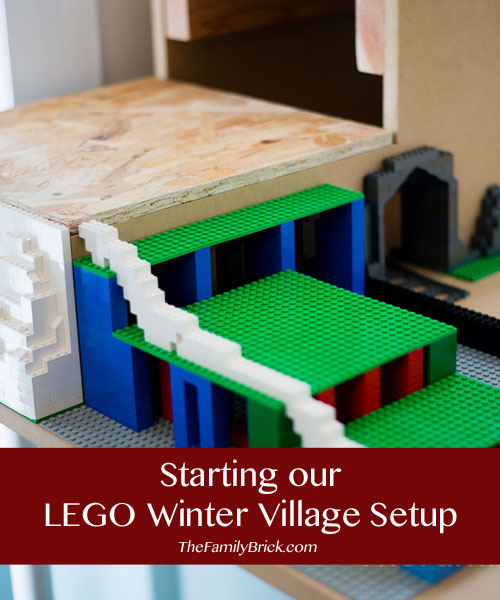
Earlier this year we worked hard on our LEGO Winter Village setup, so I thought I'd show you guys photos of how we started the project.

After last Christmas, we realized we needed more space to display
our LEGO winter village pieces. The table under the tree just didn't cut it for so many reasons, from simply not being big enough for what we have or any expansion of the scene to not allowing us to enjoy the pieces, since they were all crowded together.
Making space for our LEGO Winter Village setup
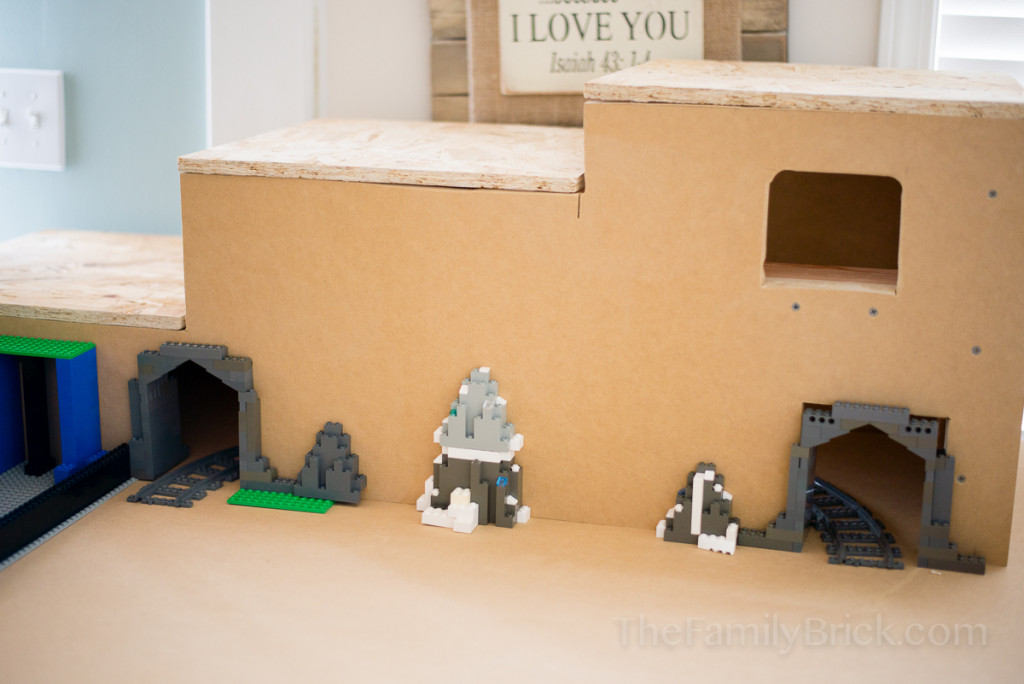
At that point, we decided we needed to do something different to allow for growth of our LEGO winter village scene. We also had visions of adding a ski slope area with a cave and "hidden" section for LEGO Santa's Workshop. Our hope was also to have a LEGO train running around the village and through the mountain. So we decided to move the winter village scene out from under our tree to behind our couch. This gave us an approximately 6' x 5' space to work with for our sprawling LEGO winter village.

Throw a cover on the side and it also doubles as a great hideout for the girl. She's really into club house/caves right now...
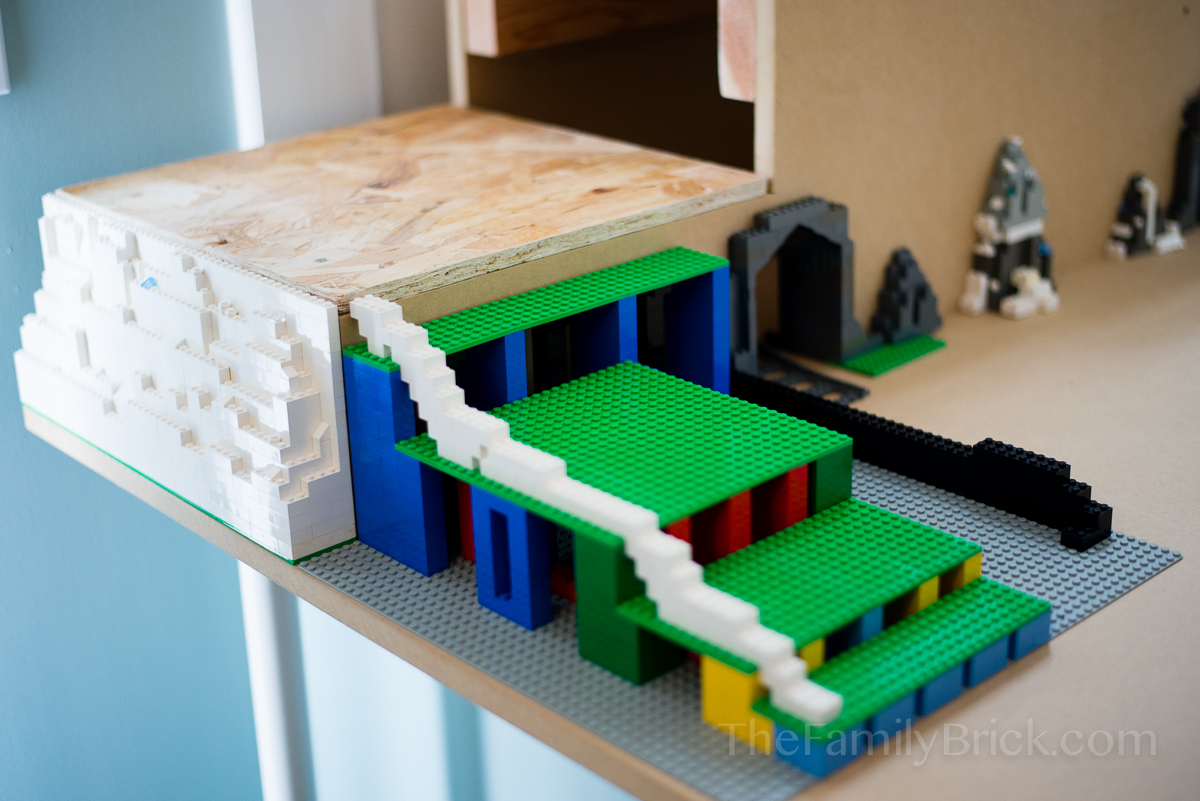
To make our mountain range, we knew we had to add quite a bit of height to the build. We were concerned about weight, so we decided to make it hollow with a base of plywood. I know, I know... you LEGO purists out there are screaming at us. Since then, we've discovered other techniques to creating larger mocks with an inside LEGO brick structure, but until we decide to revamp this scene, we're sticking with what we've got. At this point, my husband moved forward with building up the slope and walls.

We do have one side of the build that is incomplete since no one is ever going to see it in our house. It's the back side, up against our wall. However, we've been considering building it out anyways, so that we can have it finished on the backside for the upcoming
Celebricktion LEGO convention.
I have tons more to show you, but the village is currently packed away and the table has become a workspace for our small
LEGO resale eBay shop. However, since it's the middle of August, we really have to get moving on finishing our mock and roads for the winter village. So, you may be seeing more posts on this as we move forward.
How do you like our idea for our LEGO winter village? What would you have done differently?


 We do have one side of the build that is incomplete since no one is ever going to see it in our house. It's the back side, up against our wall. However, we've been considering building it out anyways, so that we can have it finished on the backside for the upcoming Celebricktion LEGO convention.
I have tons more to show you, but the village is currently packed away and the table has become a workspace for our small LEGO resale eBay shop. However, since it's the middle of August, we really have to get moving on finishing our mock and roads for the winter village. So, you may be seeing more posts on this as we move forward.
How do you like our idea for our LEGO winter village? What would you have done differently?
We do have one side of the build that is incomplete since no one is ever going to see it in our house. It's the back side, up against our wall. However, we've been considering building it out anyways, so that we can have it finished on the backside for the upcoming Celebricktion LEGO convention.
I have tons more to show you, but the village is currently packed away and the table has become a workspace for our small LEGO resale eBay shop. However, since it's the middle of August, we really have to get moving on finishing our mock and roads for the winter village. So, you may be seeing more posts on this as we move forward.
How do you like our idea for our LEGO winter village? What would you have done differently?
How fun! While I know my family would love something like this, we’d either have to have an elevated display or wait a few years (our youngest is 2 and his favorite part about LEGO is pulling it apart)! :)
Hah! It does make it a bit difficult to have anything at “toddler” level. I remember one year we put a gate around the Christmas tree so she wouldn’t pull the ornaments off of it. We lost a few of them, so I completely understand!