
One of the things that really fuels our visits to the LEGO stores is the LEGO Winter Village sets. When we saw the LEGO Creator Winter Village Market and the LEGO Creator Winter Village Cottage a few years ago, we fell in love. Always wanting to build a Christmas village as part of our holiday decorations, these were just perfectly made for us.
 And as we made those purchases, so began our LEGO Winter Village fever...
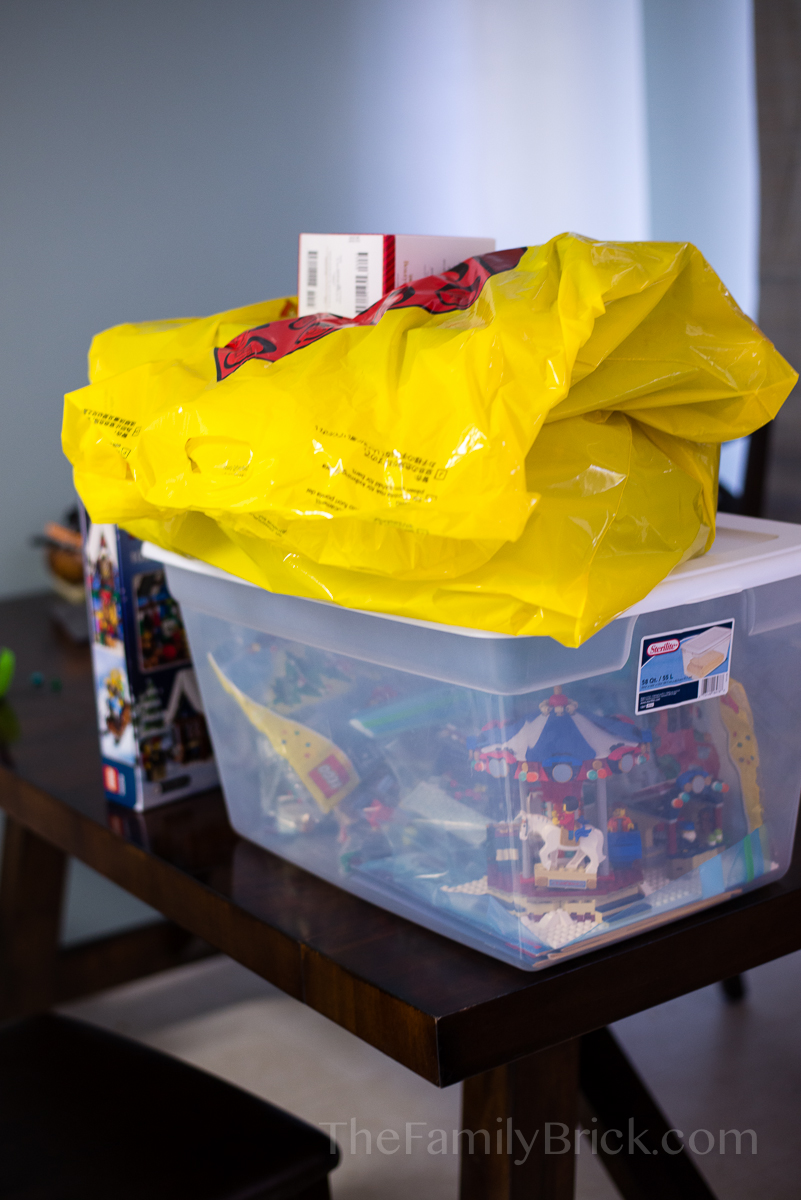
As a matter of fact, the only set we don't have is the LEGO Creator Winter Toy Shop, but with starting bid prices around $250 on eBay (and purchase prices of $300+ on Amazon), I think I'm better served simply buying it piece by piece. A project for another day...
And as we made those purchases, so began our LEGO Winter Village fever...
As a matter of fact, the only set we don't have is the LEGO Creator Winter Toy Shop, but with starting bid prices around $250 on eBay (and purchase prices of $300+ on Amazon), I think I'm better served simply buying it piece by piece. A project for another day...
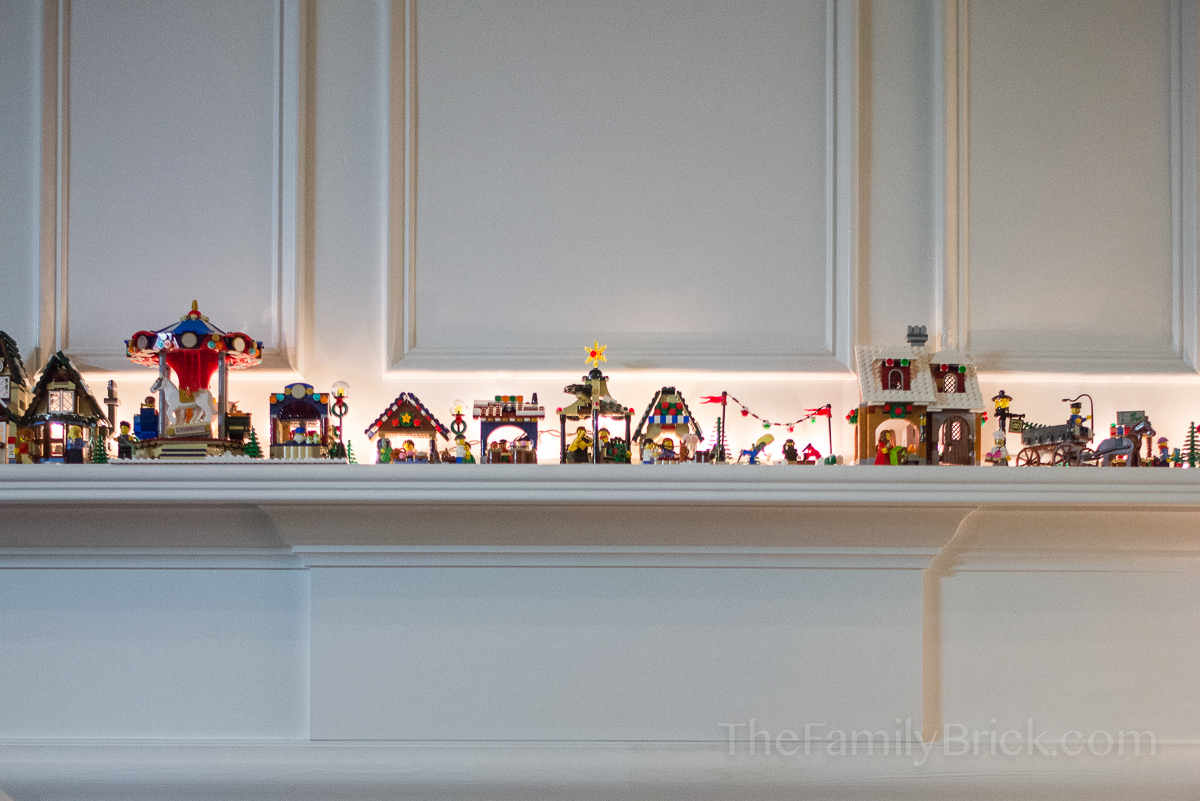 The first year we had just the LEGO Winter Village Market, LEGO Winter Village Post Office, LEGO Creator Holiday Bakery and a few of the exclusive holiday polybags. It was just enough to place on our fireplace mantel. We also picked up the cottage during the year, but ran out of mantel space to display the set.
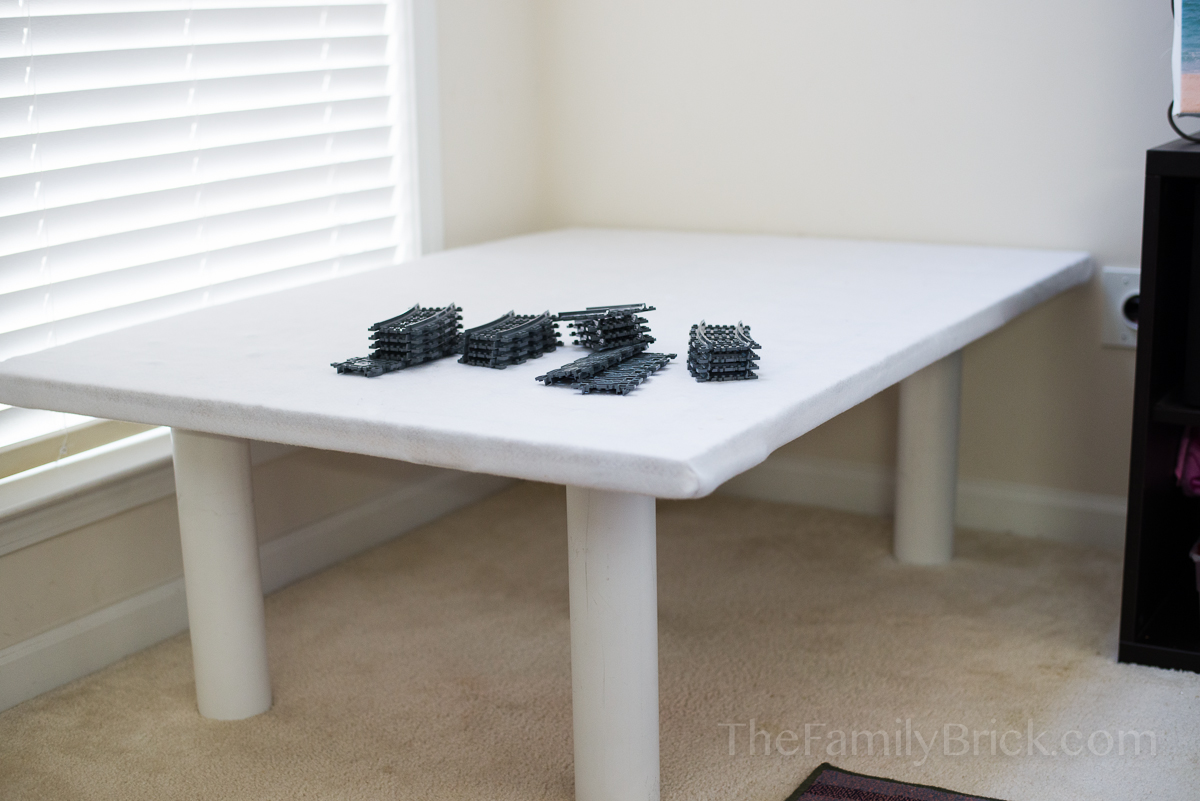 This year, since we picked up the LEGO Creator Santa's Workshop, we decided to make a table to display our winter village scene. The husband picked up a wooden storage box he found tossed at one of his jobs. Our original plan was to use it for storing the sets after the holidays. During the holidays, we used the lid as a place to display the village. We covered the lid with felt (to simulate a snowy ground in place of white baseplates) and used PVC pipes fitted into toilet bowl base rings to create sturdy, removable legs for easy storage later.
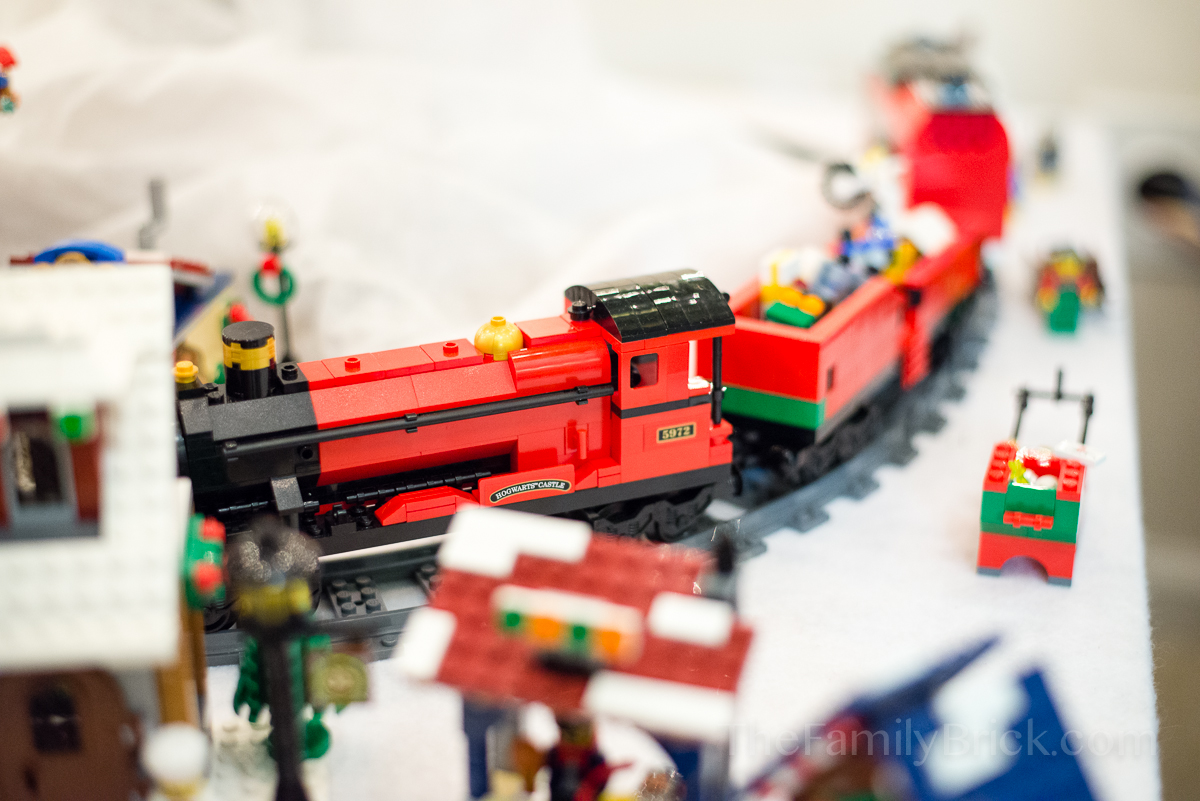 The last piece we added was a modified LEGO Hogwart's Express train with a motor. (Oops! I see we even forgot to remove the "Hogwart's Castle" sticker from the train.) We picked up just enough track to make its way around the base of our tree, but once we loaded up our Christmas train with all of Santa's toys we scavenged from various sets, the train doesn't have enough power to make its way around the tree. Something we have to work on for the this coming holiday season.
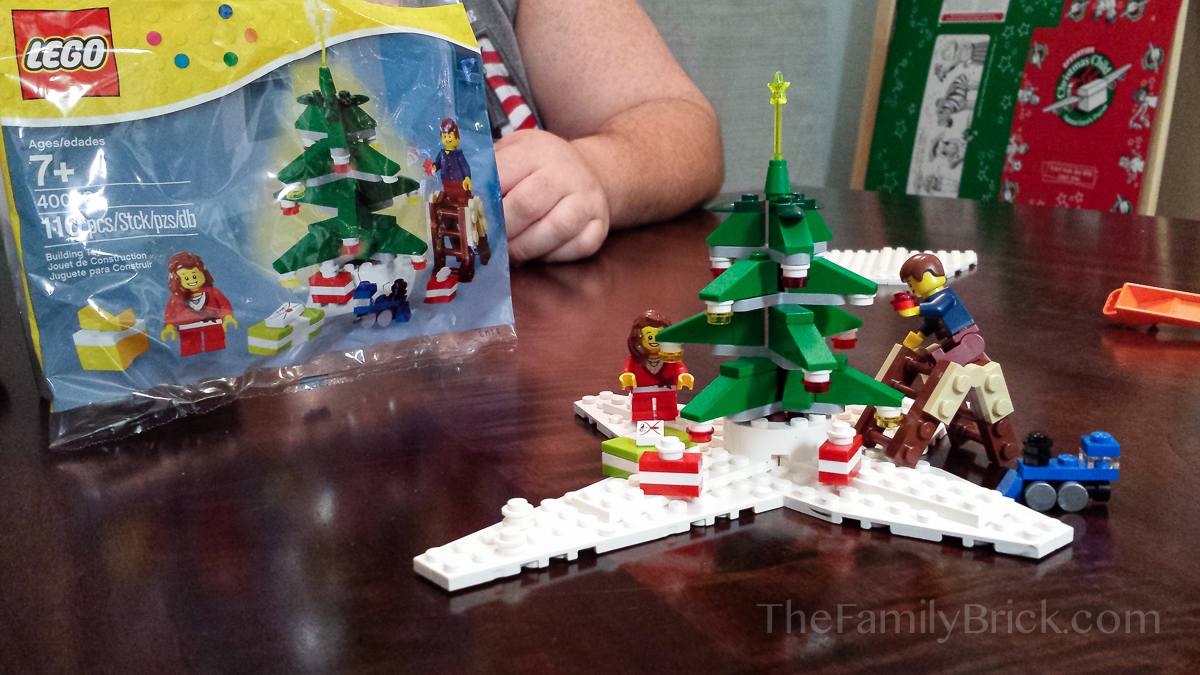 We also added a few more polybags perfect for building out our village.
Here are a few more photos of our village setup...
[gallery type="rectangular" ids="543,544,545,546,547,548,549,550,551,553,554,555,556,557,558"]
We thought it was a nice first attempt to our winter village, but once we added all the sets, it was just too crowded.
After we took down the tree, we did a few test run setups (without our huge tree base taking up space in the center of our town). With a custom build Mr. Family Brick was working on at our kitchen table, we had already run out of space again! But we think we have a plan to use some extra space right behind our main couch. It gives about an extra foot each way in space, which will hopefully be enough to accommodate this year's official LEGO winter village release.
Did you setup a LEGO Winter Village scene? How do you use your space to set it up?
We also added a few more polybags perfect for building out our village.
Here are a few more photos of our village setup...
[gallery type="rectangular" ids="543,544,545,546,547,548,549,550,551,553,554,555,556,557,558"]
We thought it was a nice first attempt to our winter village, but once we added all the sets, it was just too crowded.
After we took down the tree, we did a few test run setups (without our huge tree base taking up space in the center of our town). With a custom build Mr. Family Brick was working on at our kitchen table, we had already run out of space again! But we think we have a plan to use some extra space right behind our main couch. It gives about an extra foot each way in space, which will hopefully be enough to accommodate this year's official LEGO winter village release.
Did you setup a LEGO Winter Village scene? How do you use your space to set it up?
