

Earlier this year, as I was recovering from my second knee surgery, I found I had a ton of extra time to contemplate the mysteries of life... including how to power the LEGO Holiday Main Street trolley. Since I had the extra time, and I was intrigued by the Powered Up app that was officially released back in 2018, I decided to tackle pairing the Powered Up app on my phone with LEGO’s color & distance sensor. Add a few simple colored tiles later, and now the trolley runs back and forth in our winter village, all on its own!
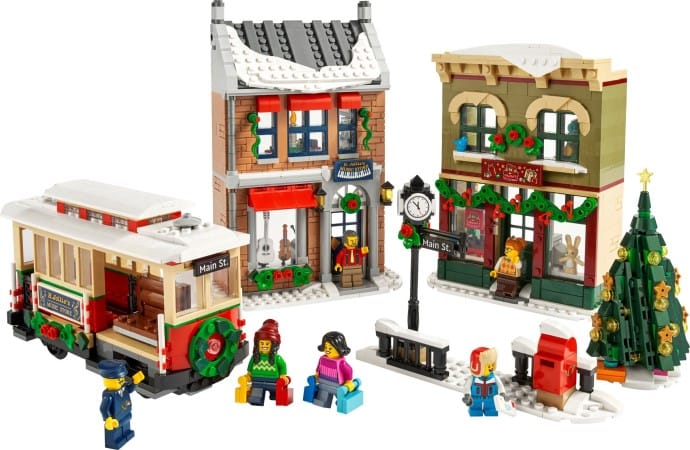
Essential Power Parts for Your LEGO Holiday Main Street Trolley

Powering with Powered Up
If you’ve seen our previous post on powering the LEGO Winter Holiday Train, you’ll know the drill but this time, I swapped Power Functions for Powered Up. That means:
- Powered Up Hub (aka the “battery box”)
- Powered Up Train Motor
- Powered Up Color & Distance Sensor
- The LEGO Powered Up app, free for your smartphone or tablet
- Some colored plates/tiles for your track “trigger points”
Unfortunately, I believe the Color & Distance Sensor has been retired by LEGO. You'll have to head on over to Bricklink or another secondary market store to grab a sensor.
Powering with Traditional Power Functions
If you'd rather just go with the traditional LEGO Power Functions, here’s what you’ll need:
- LEGO Power Functions AAA Battery Box (88000)
- LEGO Power Functions Train Motor (88002)
- LEGO IR Receiver (8884)
- LEGO Remote Control (8879)
These are the same reliable parts I recommend for the Holiday Train, and they work equally well for motorizing the trolley. While they have also been retired, they're one of the longest running motors and battery hubs series from LEGO. You can still find them online at Bricklink or Amazon. If you already own the remote - remember, its 4-position switch lets you control multiple powered builds at once - you can skip buying an extra.
Just a note - for the purposes of this article, we're going to proceed with how I went about using Powered Up to motorize this build.
Tracks
Lastly, the Main Street Holiday set does not come with a starter loop of track. You'll need to grab some LEGO Tracks (60205) if you want a to make this work. This is currently the standard set for expanding your layout and it includes straight and curved rails.
And while LEGO did create flexible track sets, like the older 7499, we don't recommend them. They have some drawbacks, of which we experienced one and will share more about later.
How to Install and Connect the Powered Up Parts
LEGO typically places the motorization instructions at the back of the building guide, and that is the case this time. That should have been my first spot, but I was fortunate enough to find instructions to color sensor modify the train by Rebrickable user Miro of HumbleBricks.com. These are what I used for my build.

He also recommends that you set aside a few additional pieces for his build, but you may or may not need them based on how you end up modifying your trolley.
Programming the Powered Up app
Once you’ve got the motor, hub, and sensor installed in your trolley (check that helpful Rebrickable guide if you need a hand), it’s time for the fun part: programming with the Powered Up app!
I did A LOT OF SEARCHING online to find help docs on how to program with the app. The difficult part is that much of the documentation that LEGO has published is outdated. So I would start with what I thought was the right sequence and it would not result in what I wanted.
I wish I had taken notes on all the issues I experienced when I first started. (I even started with someone else's programming comment on Facebook that might be helpful to you.)
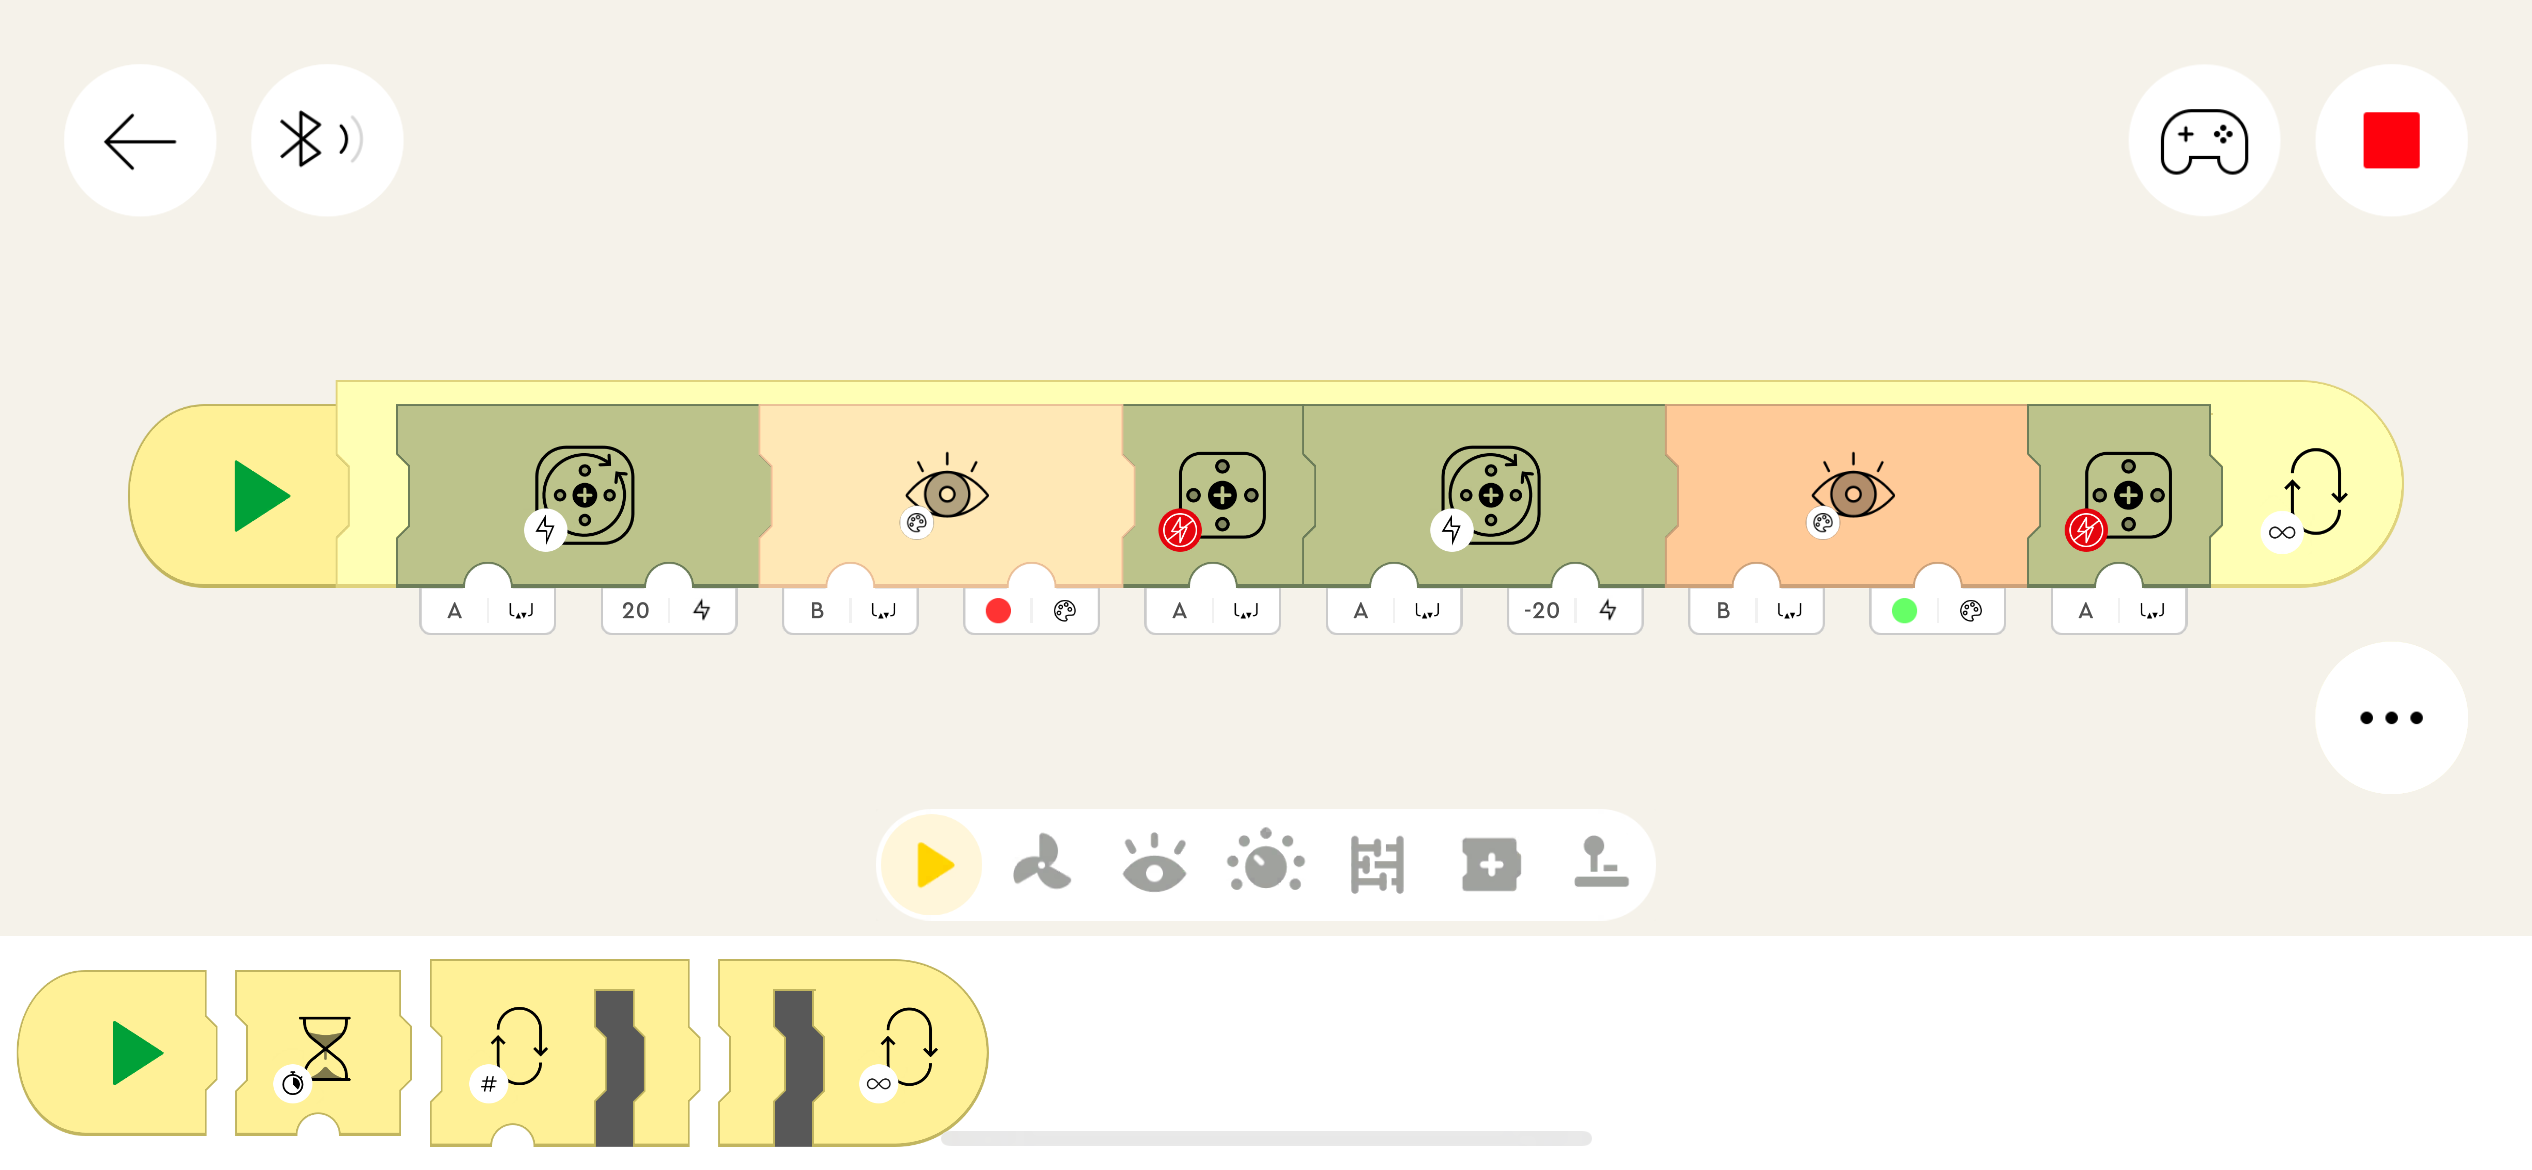
But in the end, after plenty of trial and error, the above programming is what ended up working for my build. Hopefully, this works for you, too!
Other Issues I Had
Once I was all set up, it was time to test! And this is where it all got a bit tricky.
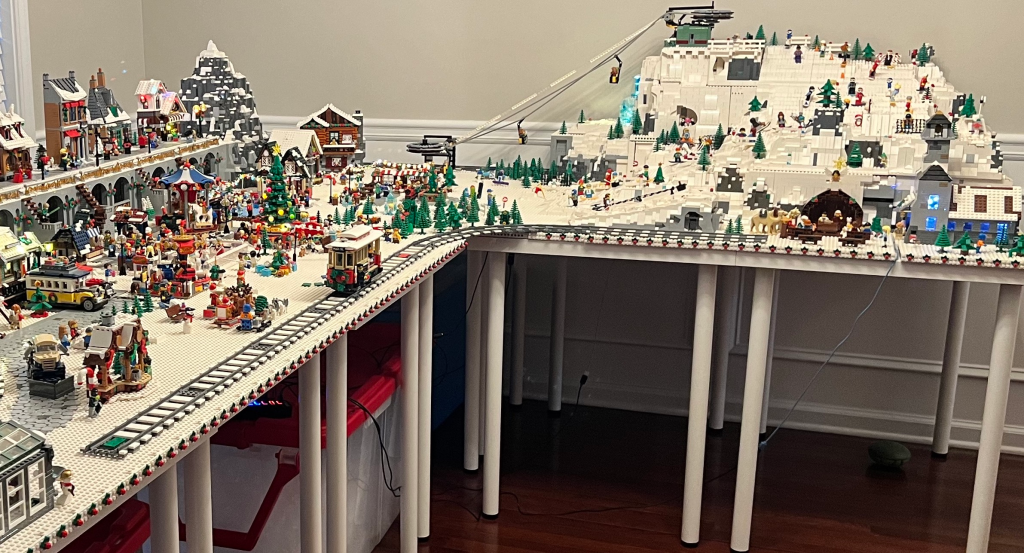
For our build, I was planning on having the trolley take our visitors from the entrance of the winter village over to our nativity scene and church; however, I quickly found out that the color sensor does not like flex track... or didn't like that our flex track was unsupported by the table. (We did have a base plate that extended out to provide that additional support though.)
Once programmed, the trolley would either stall at the curve or get stuck in a loop where it went back and forth between the nativity scene and the start of the flex track. Best I could guess was that the color sensor was a tad TOO sensitive.
And yes, we did consider curved track, but our layout would not allow the space for it. Whomp, whomp.
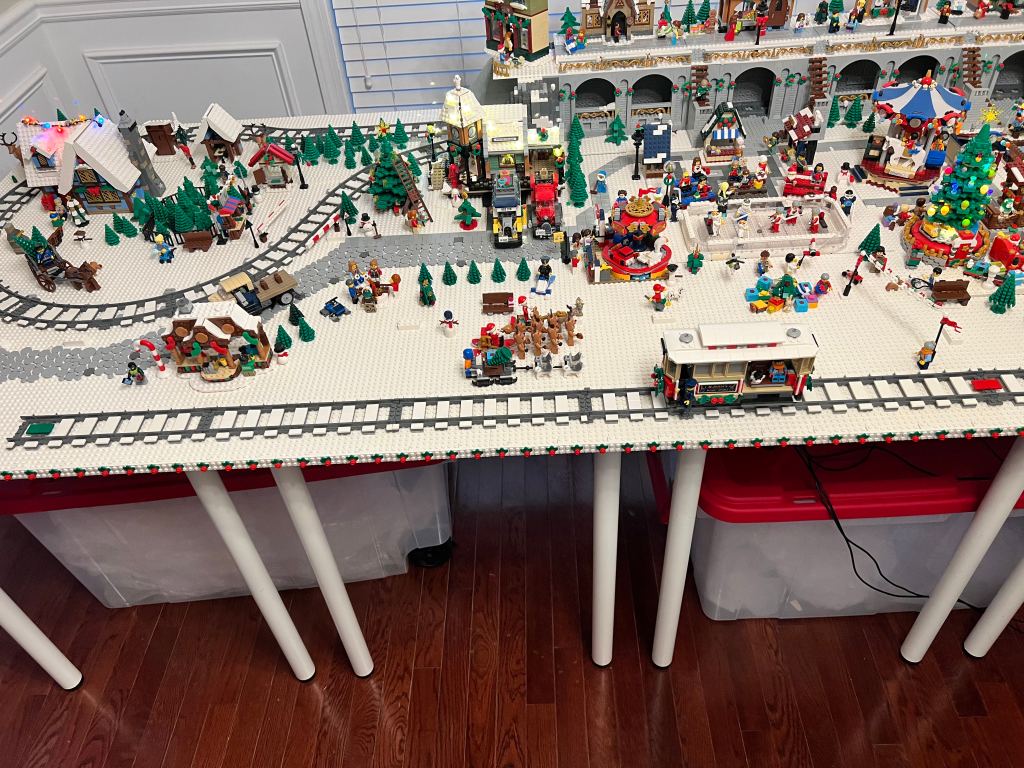
Eventually, I had to resort to removing the flex track and just doing a short straight before hitting the area I wanted to add the flex track to.
I also had an issue with the color sensor not liking some of the tile colors. I don't know exactly why that is, but I finally had success with using a green and a red tile in the programming to get the color sensor to pick up the color and request the switch in trolley direction.
And it was all worth it. Watching the trolley recognize the colored plates and reverse automatically is true Winter Village magic.
Why We Love the Powered Up App
After you get the hang of all the drag-drop programming, that's when the real fun begins.

LEGO did a fantastic job on the app controls for the trolley. If you haven't seen them, I recorded a short video where you can watch me click through all the buttons available on the control screen. My app wasn't connected to the trolley at the time, but you still get the idea.
It's truly created to get you into the holiday season mood.
Final Thoughts
All in all, this was solid fun. I'm bummed that I'm just now getting into this when this Powered Up theme is rumored to be replaced next year. But more on that in my next post...
One thought on “How To Power the LEGO Holiday Main Street Trolley with Powered Up”