

If you've been reading our blog lately, you know we've been working on adding lights to our winter village display. Fortunately, the light company, Game of Bricks, has partnered with us to provide us light kits for several of our sets. The latest one I worked with was the LEGO Christmas Tree light kit.
About the LEGO Christmas Tree Set
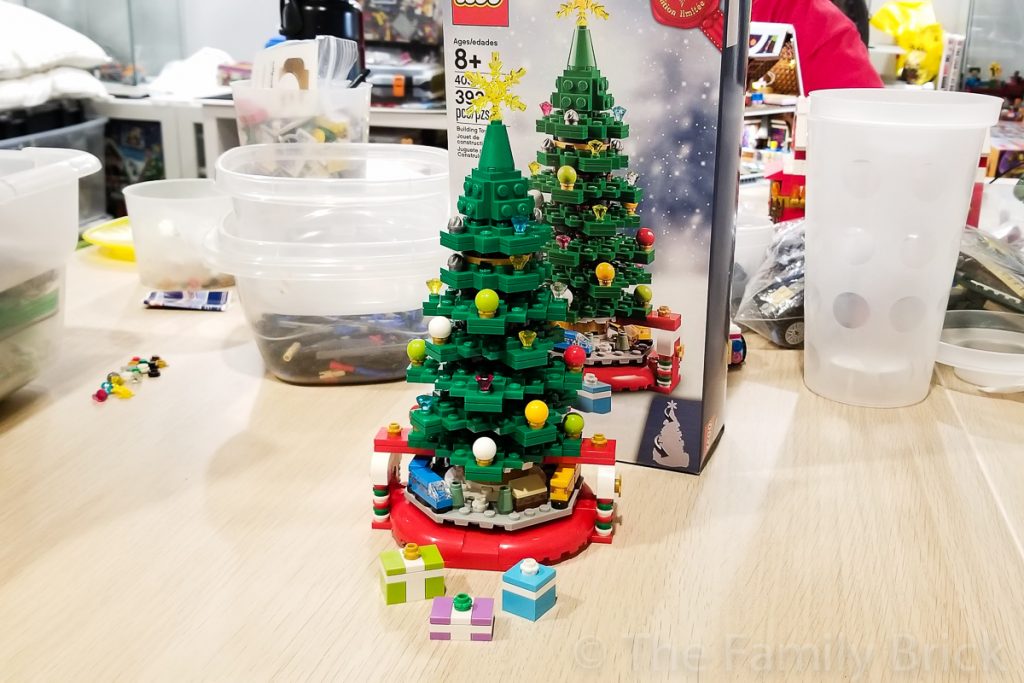
Recently, I wrote a review of the LEGO Christmas Tree set. Long story short, it was a gift with purchase set released in 2019. The build has movement in the form of a train scene that rotates around the base of the tree when you turn the top cone of the build.
With all the Christmas decorations, I was fairly confident I wanted to light up the set and add power functions motion. For this post though, we'll just talk about using a light kit to make this build shine.
About Game of Bricks
Before I get ahead of myself, here is background into on Game of Bricks:
Game of Bricks was created by people who love LEGO. The dream began just in one day, with the founder of the company. The creator of Game of Bricks was looking down during Christmas time on the London Tower Bridge and thought to himself “this building is wonderful with lights on”. At the same time he thought about same LEGO on the 10214 Tower Bridge set. He decided to copy these lights from the real Tower Bridge to a LEGO one. This is how Game of Bricks Company started.
About Their LEGO Christmas Tree Light Kit
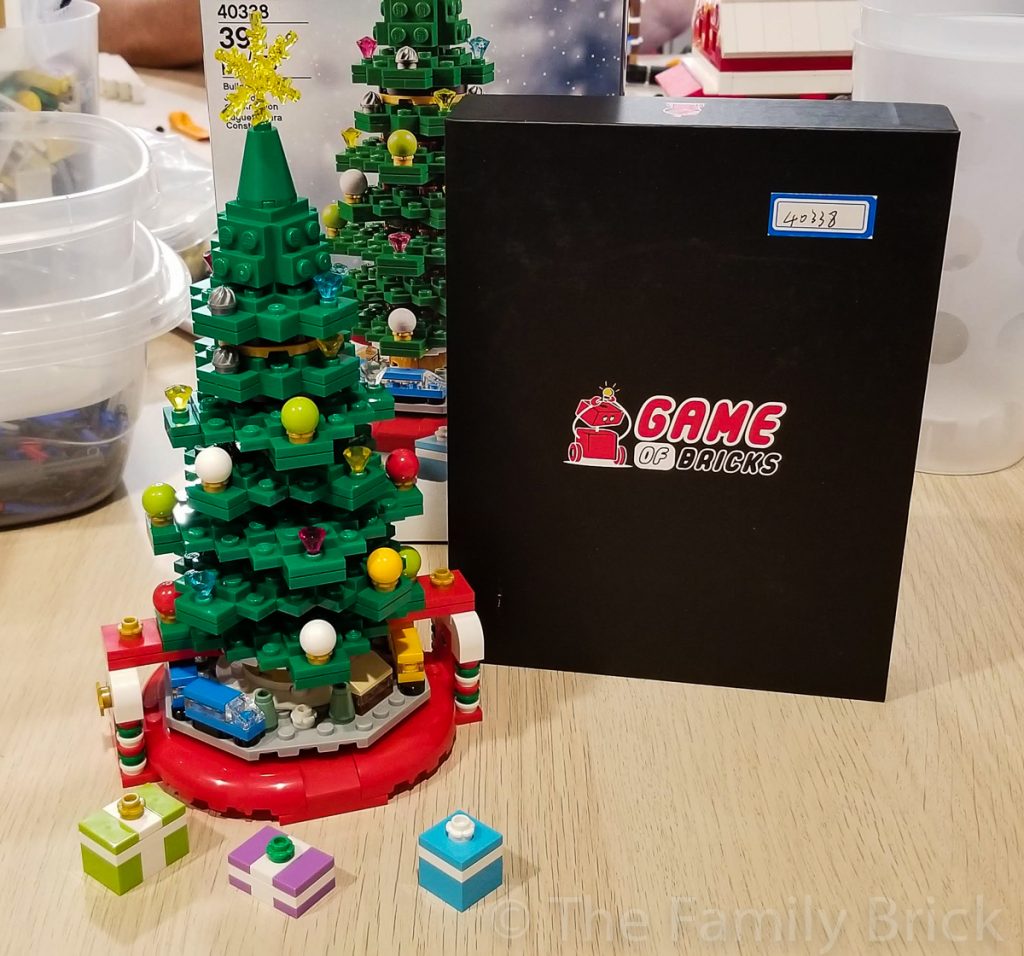
The LEGO Winter Toy Shop Light Kit from Game of Bricks comes with:
- LEGO Lights with Original Game of Bricks Box
- AAA Battery Box (Batteries Not Included)
- Video Instructions (You’ll need to ask customer support for these.)
At the time of this review, the set is available for $25.99 USD.
Adding the LEGO Christmas Tree Light Kit
This is only the third light kit I've worked with from Game of Bricks. Mr. Family Brick has worked with more of them than I.
If you remember, the last time I worked with one was back in January even though I just got around to posting the review of the light kit last month. So I started this project as if it was my first time. Eventually I'll get the hang of these!
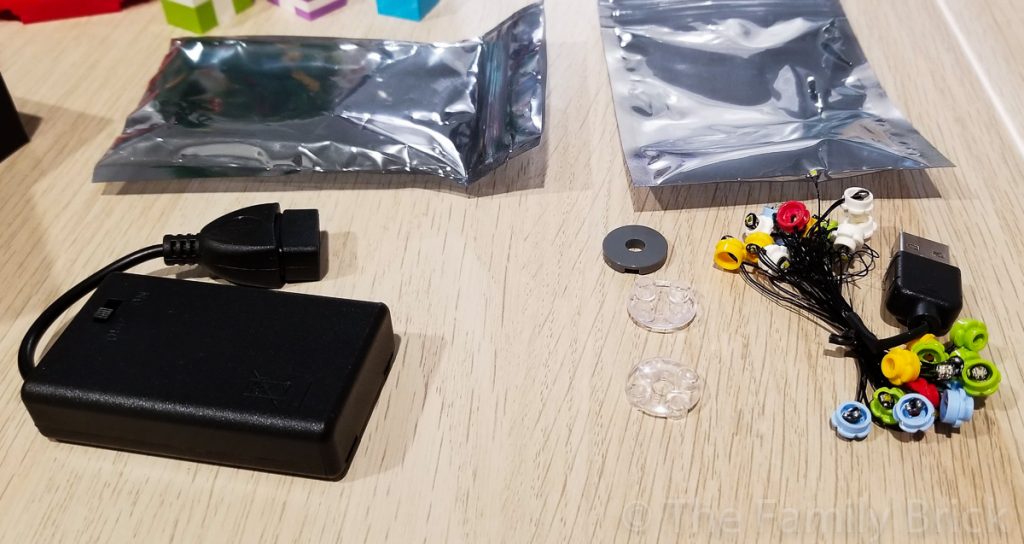
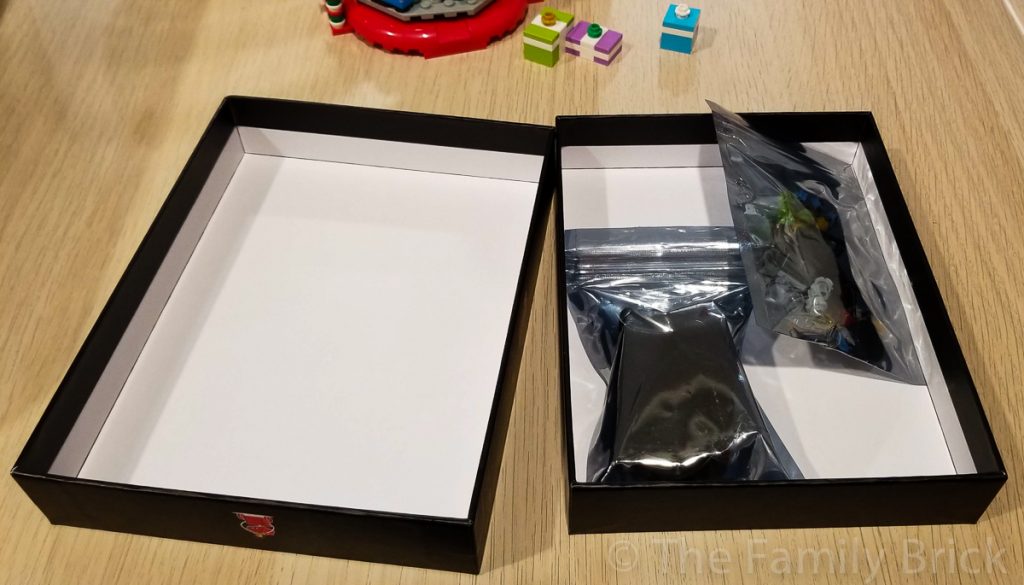
When you open the box, you'll find two bags. One with the string of lights and some extra parts you'll need to modify the motion of the build and accentuate some lighted areas. The other with the battery box.
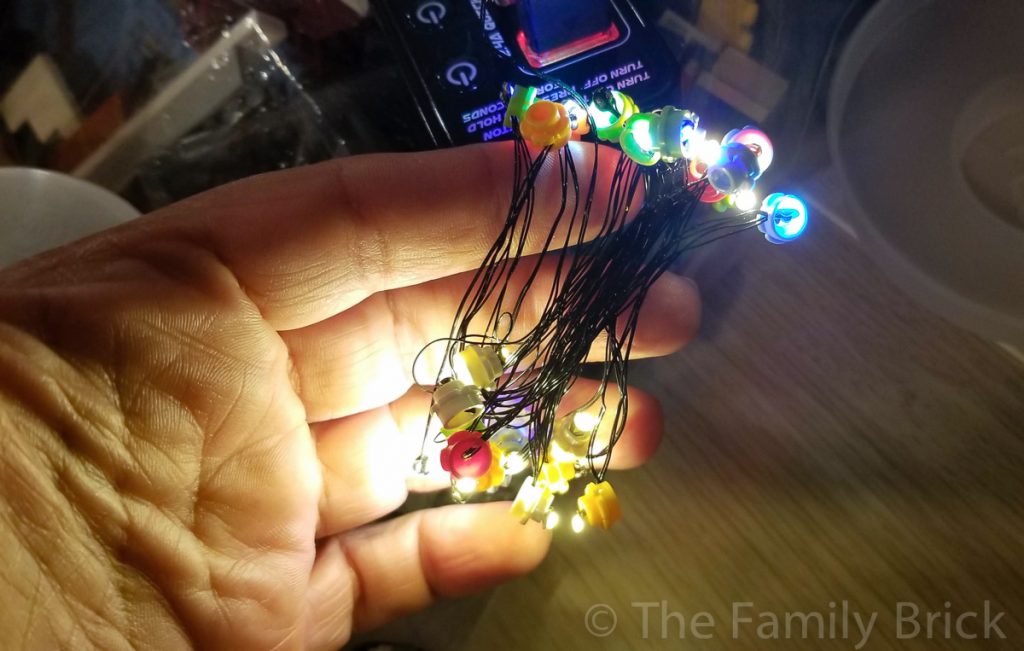
As recommended, you should test out the lights prior to installing them. So I made sure to do that. Last thing I would want is to install them and find out they didn't work.
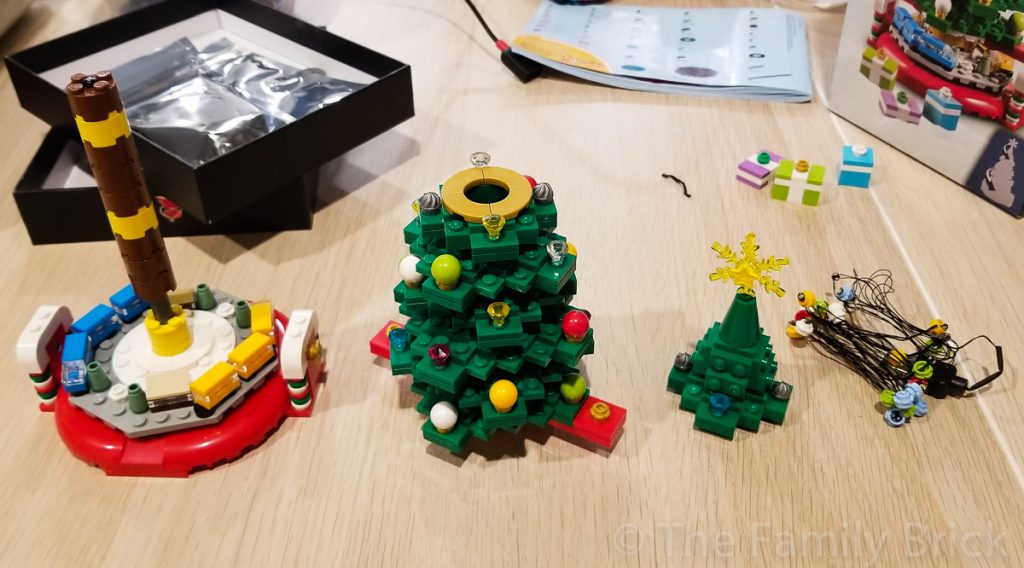
With the lights tested, the next step involves taking apart that tree you so painstakingly put together. I know you were making sure your branches and bulbs lined up to match the photo on the box when you first built it. I was!
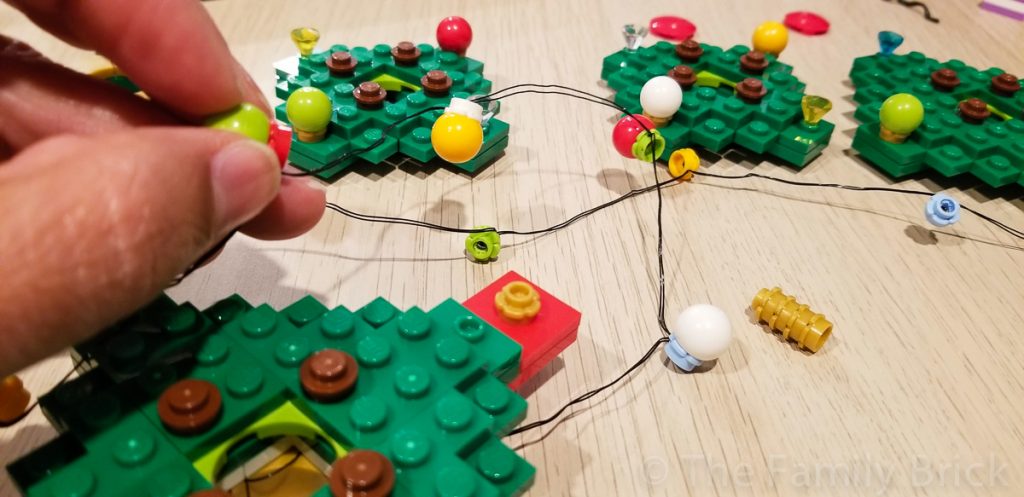
Once you separate all the branch levels, it's time to start stringing. You'll start from the bottom branch layers up.
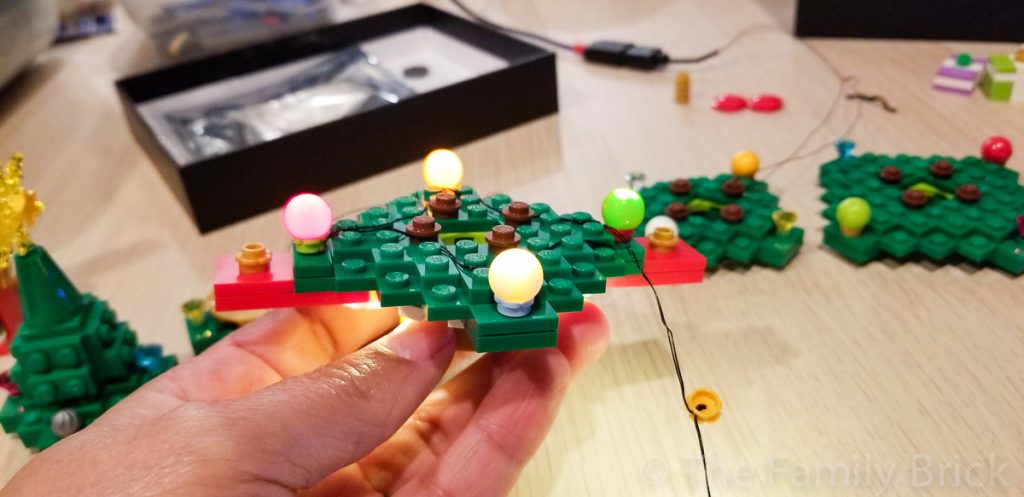
Et voila! The first branch layer is ready to go and the lights are still working!
Most of the build is a lot of the same. The two exceptions are the bottom of the build, where you run the string under the first branch layer and the top, where you run the end of your string into the cone to light up the star. The only sections of wiring truly showing are the transition points from one branch level to the next. Since the lights are spaced appropriately on the strand, they are easy enough to tuck in and blend with the tree.
Now what about the motion?
At this point you may be wondering, how do the lights handle the motion aspect of this build. That was my question as well.
I took a few screen captures from the instruction video to try and demonstrate the modifications:
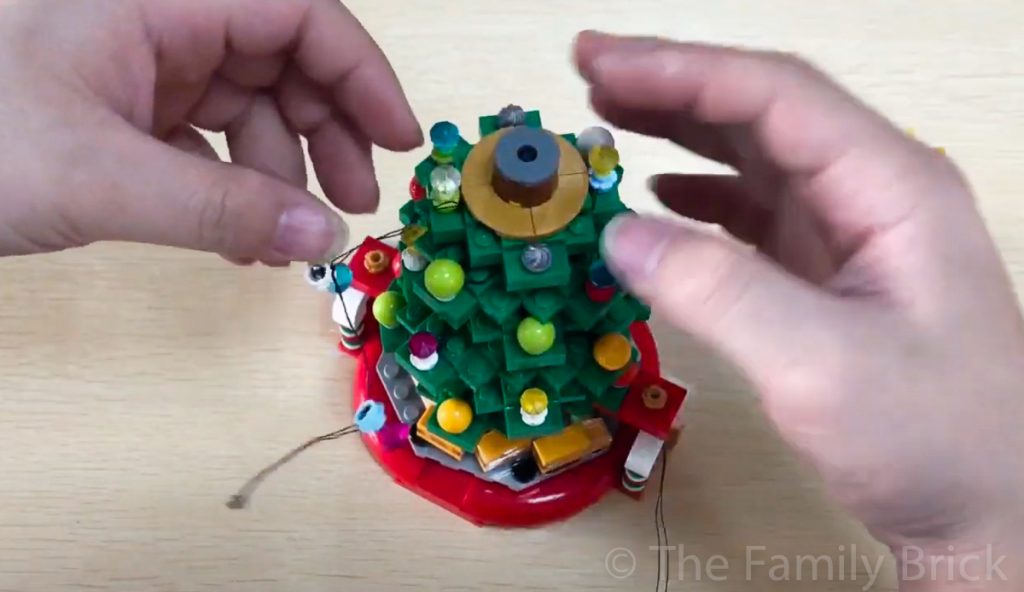
The magic happens at the top of the tree. You'll be capping off the last 2x2 round brick with that 2x2 round tile with hole you saw in an earlier photo.
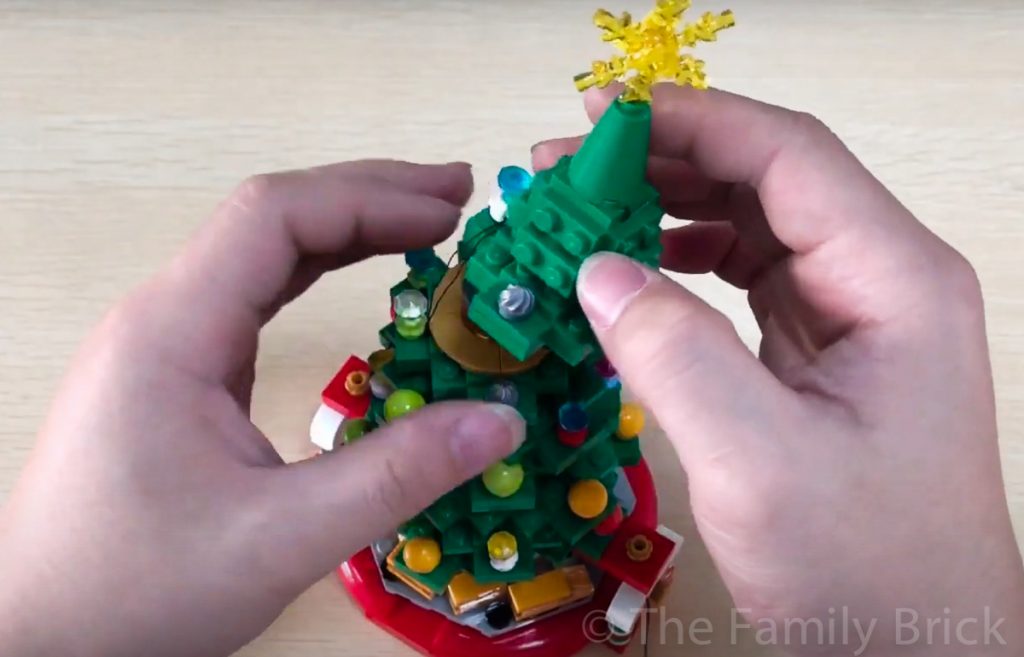
This does two things:
- It keeps the top of the tree from connecting to the rotating core of the build, disabling your ability to rotate the trains by turning the top cone section.
- It also leaves your build a little less secure, since the only thing truly holding the top section to the build is the string of lights.
It's a little hard to describe, so I hope the screen captures above help demonstrate it better, if needed.
My Thoughts
Guys...I was so excited about the finished product that I videoed it!
Hands down, this was an easier integration than the other two light kits. Probably because I only had to worry about one strand of lights.
Clutch Problems
We did have an issue with the bricks not clutching well to the studs. Part of the issue with this is, of course, the wire strands. That's to be expected. There's only so much clutching you can do for the bricks before you shear the wires and break the strand of lights.
This was potentially aggravated by two issues:
- The lights themselves are not glued into position. This is probably by design and it generally works, as it allows you to move the wires without worry of potentially ripping them off the light itself. It also allows the lights to shine without being obstructed by any excess glue.
The problem it causes is that sometimes the lights are not positioned so that they shine through the gem or ornament. The light will still fire, but it only comes through the bottom of the brick attached to the light strand. You can see what I'm talking about in my video above.
You'll find that you need to reposition some of the lights so that they are actually shining through correctly.
- Whether by design or by necessity, the bricks used for the strand itself are not official LEGO brand bricks. They are LEGO knock off. This means the clutch quality may not be quite the same.
We also had some issues with the brick holes to place the gems. I don't know if Game of Bricks drills them out on their end or if they order them that way, but some of our bricks were not fully drilled clean. We had to go back in and clean up some of the holes. This allowed the light to sit in the stud pocket better and our gem to fit the stud hole so that it actually stayed in position. Before they just kept popping off.
Motion Disabled
The other thing we were a little sad about was the disabling of the motion aspect of this build. All that said, it's not like you're going to be actively playing with it, so the modifications needed to light the last bit of the tree are a fair compromise and understandable. You can still make the train portion of the build move by moving the plate itself.
Other than that, I love this light kit and feel that they did a great job with the implementation for the build.
We highly recommend the purchase.