

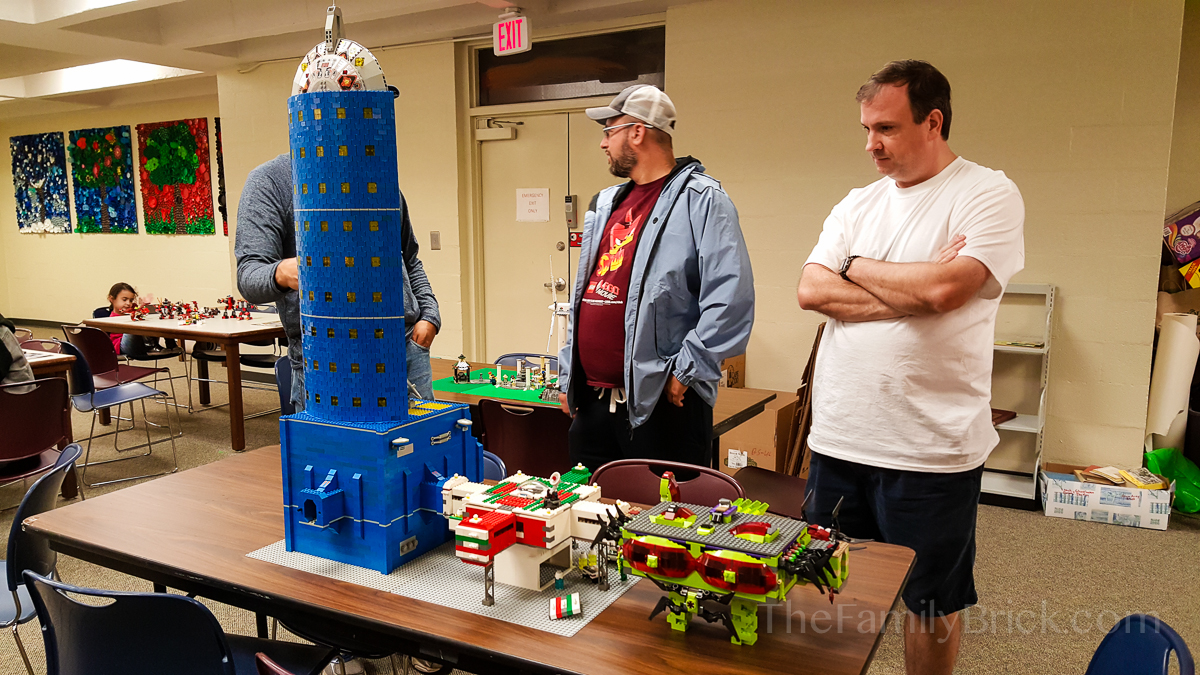
Remember those moonbase photos we showed you in our last DixieLUG meeting post? If you didn't catch this little tidbit in my post, all of those sections were built by different LEGO fans, yet they all fit together as if they were one piece. Pretty cool, right?
As it turns out, the reason different builders can make a moonbase build, yet have it fit another moonbase is due to a standard created by the LEGO Space Community (you didn't know there was a space community, did you?) back in 2002 to connect corridors between different builds.
2 Rules to Build a Moonbase
If you want to try your hand at a moonbase build, there are two very simple rules you'll need to follow:
1. You'll need to get your hands on a 48 x 48 stud grey baseplate (also called an x-large baseplate.) All moonbase builds are started on this type and color baseplate.
2. Each build should connect at one (or more) of four predetermined points to create a Corridor Connection to a neighboring module. This is where the instructions for making moonbase corridor connectors come into play.
Instructions for Making Moonbase Corridor Connector
If you'd like to try your hand at making a moonbase, you can use these instructions to create your moonbase corridor connectors. You'll also need to keep the following things in mind:
- Corridor floor plate is 10 bricks off of the baseplate.
- End of corridor is flush with baseplate edge.
- Corridor is 6 studs wide.
- Corridor is centered along baseplate edge.
- Airlock ring is 8 studs wide.
- Doorway is 4 studs wide by 5 bricks tall.
- 2 1x2 Technic bricks (the ones with the hole in the middle) are centered half way up the doorway.
- Use any supports you like, but the base of the supports should be at least 4 studs from the baseplate edge.
If you're a more visual person, you can see what that looks like in the following diagram from the Brickfair Alabama Moonbase wiki:

Look up “lego space 2012” for the complete and actual moonbase specs. These are limited.
Thanks Michael! You don’t have a link for me, do you? Having trouble finding those full specs.
Sorry to necro this, but this might be what the original commenter was referring to:
https://www.flickr.com/photos/bumcrush/sets/72157624888198989/with/5015218913/#